GBBO Wearable Gingerbread Corset Recipe
by J_C • 2026
About this recipe
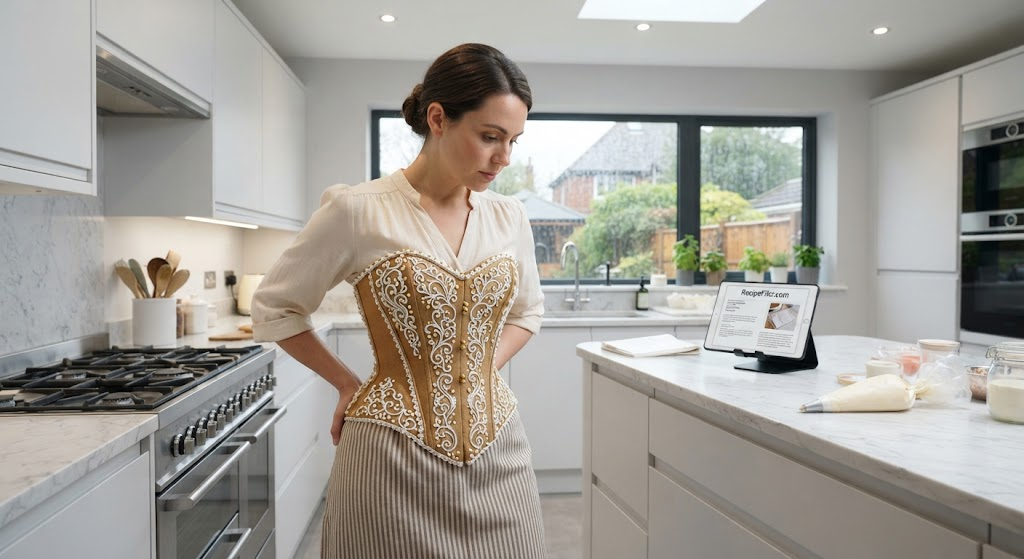
Baking a wearable gingerbread corset is a fantastic, ambitious culinary project. Designed to be both structural enough to wear (typically over a fitted plain black or white top/dress) and delicious enough to eat, this project trades soft, chewy gingerbread for a high-strength "construction" dough.
Prep
120m
Cook
18m
Rest
1440m
Serves
Rating
—
Total time · 2h 18m
Ingredients
Kitchen HelpShopping list
750 g Plain Flour — plus extra for dusting
2 tsp Baking Soda
4 tbsp Ground Ginger
2 tbsp Ground Cinnamon
1 tsp Ground Cloves
1 tsp Ground Nutmeg
250 g Unsalted Butter — cold, cubed
200 g Dark Muscovado Sugar
200 g Golden Syrup or Molasses
1 Large Egg — lightly beaten
3 large Egg Whites — or 45g pasteurised egg white powder
600 g Icing Sugar — (sifted)
0.5 tsp Cream of Tartar
Tools
- · Cardboard and scissors
- · Rolling pin with 5mm thickness guides
- · Non-stick baking parchment
- · Piping bag and No. 2/3 round nozzle
- · 2 meters of ribbon or strong twine
Instructions
Step by step
- 1
Step 1: Pattern Design - Measure your bust, waist, and torso length. Sketch and cut out paper templates for 2 front panels, 2 side panels, and 2 back panels (mirrored for left and right). Test the paper fit around your torso before baking.
- 2
Step 2: Making the Dough - Mix Dry: Sift flour, baking soda, ginger, cinnamon, cloves, and nutmeg into a large bowl. Rub Butter: Rub in the cold butter until it resembles fine breadcrumbs. Stir in the muscovado sugar. Add Wet: Warm the golden syrup slightly, whisk with the beaten egg, and pour into the dry mix. Knead & Chill: Bring together into a smooth dough. Divide into two disks, wrap in cling film, and chill in the fridge for at least 2 hours.
- 3
Step 3: Rolling, Cutting & Punching Holes - Preheat oven to 180°C (Fan 160°C). Roll chilled dough directly on baking parchment to a strict 5mm thickness. Lay paper templates on the dough and cut around them with a sharp knife. Leave pieces on the parchment. Eyelets: Use a wooden skewer or small piping tip to punch lacing holes along the back edges (1.5cm in from the edge, 2cm apart).
- 4
Step 4: Baking & Curing - Bake for 15– until deeply golden, firm, and dry. Hot Trim: Immediately lay paper templates back over the hot biscuits and trim any spread edges with a knife. Cool completely on trays for , then transfer to a wire rack. Let them cure for 24 hours in a cool, dry room to harden fully.
- 5
Step 5: Royal Icing - Whisk egg whites and cream of tartar until foamy. Gradually beat in sifted icing sugar for 5– until stiff, glossy peaks form. Transfer to a piping bag with a small round nozzle and keep covered with a damp cloth.
- 6
Step 6: Assembly - Prop up the front panels using a clean support structure (like a jar lined with greaseproof paper). Pipe thick royal icing along the vertical seams and press panels together. Add internal corner bracing with extra icing. Let the main structure set for 2–3 hours before attaching the back panels. Allow the fully assembled corset to cure for 12–24 hours before wearing.
- 7
Step 7: Lacing & Wearing - Thread your ribbon through the iced eyelets like a traditional corset. Always wear over a comfortable base garment (like a slip dress) to avoid direct skin contact with spices and sugar. Handle gently as a wearable sculpture!
- 8
Novice Pro-Tip: If a piece snaps during assembly, don't panic! Use thick royal icing to 'glue' the break together, prop it up, and let it dry. Once set, it will be as strong as an unbroken piece.
Show AI-drafted nutritional details on this recipe?
Rate this recipe
Shared notes
Cook's annotations
No notes yet.
Family legacy
Audio reminiscence
A short voice memory — Mum reading the recipe out, a grandparent sharing the story behind it, a tip whispered while cooking. Up to ~60 seconds.
No audio memory yet.
Complete the table
Smart wine & side pairings
Evolution timeline
How this recipe has changed
Edit on 2026-10-05
Edited 10/5/2026, 1:05:47 PM